If you’ve ever worked in Illustrator and ended up with a shape that used to be a stroke but is now an expanded outline, you might have wished you could turn it back into a clean, editable stroke. Fortunately, it’s entirely possible with a few simple steps.
In this tutorial, I’ll walk you through the process using an example “S” shape, but you can follow the same steps with any outline or expanded shape.
Chapters:
0:00 Convert Outline to Stroke in Illustrator
0:11 Create or Select Your Shape Outline
0:39 Delete Anchor Point End Cap Segments
0:49 Blend Paths to Create Center Path
1:25 Splice Outline for Better Blend Result
3:39 Clean Up New Center Path
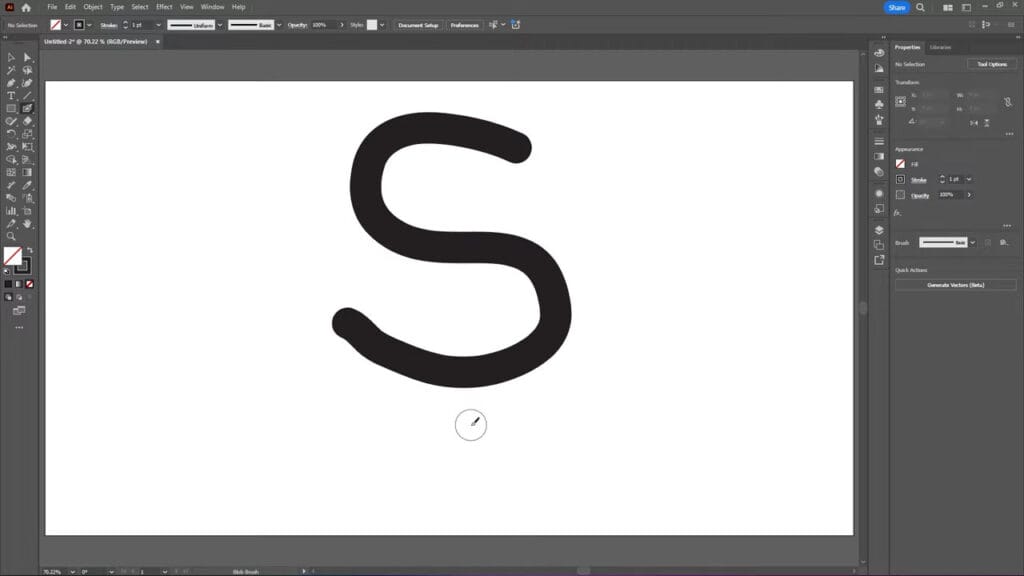
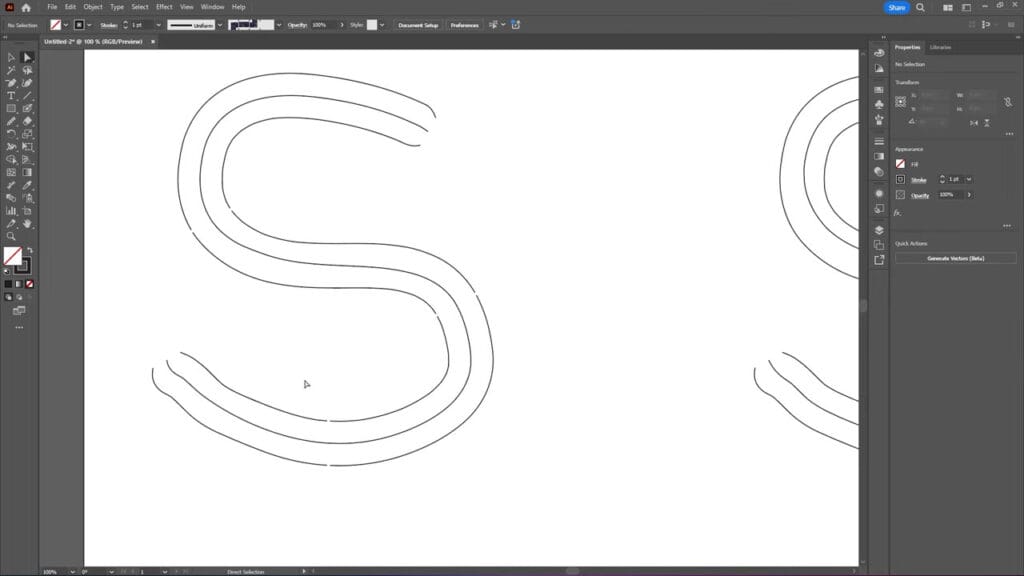
Step 1: Create or Select Your Shape Outline
You can start with an existing outline or create one for practice.
- In this example, I’ll make the letter “S” by selecting the Blob Brush Tool and drawing my shape.
- You can switch to Wireframe Mode by pressing Command/Control + Y to confirm it’s a shape and not a stroke.
- To make things easier, reverse the colours so the shape has a stroke instead of a fill.
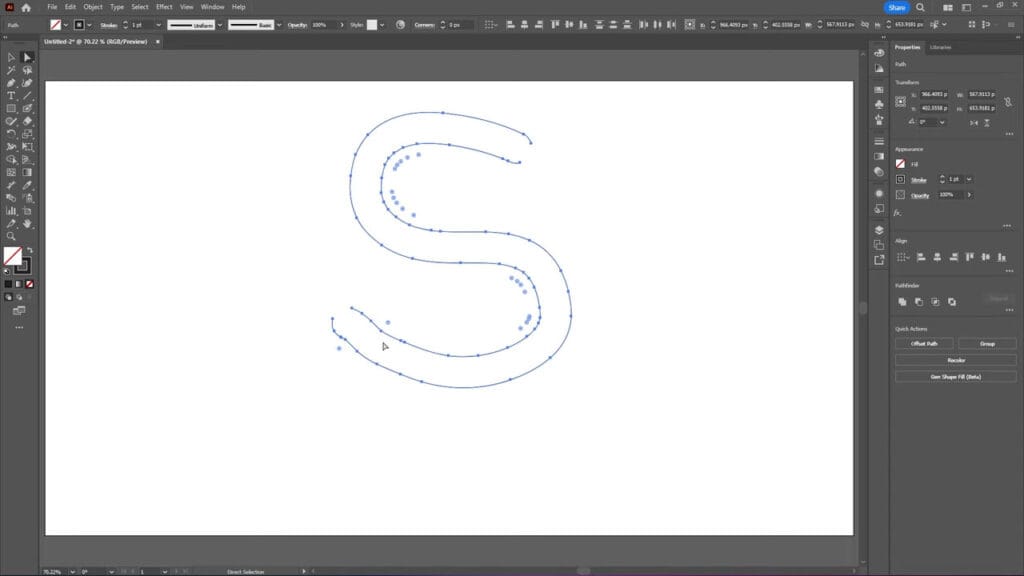
Step 2: Make a Center Path Using the Blend Tool
We need a centerline that follows the middle of the shape.
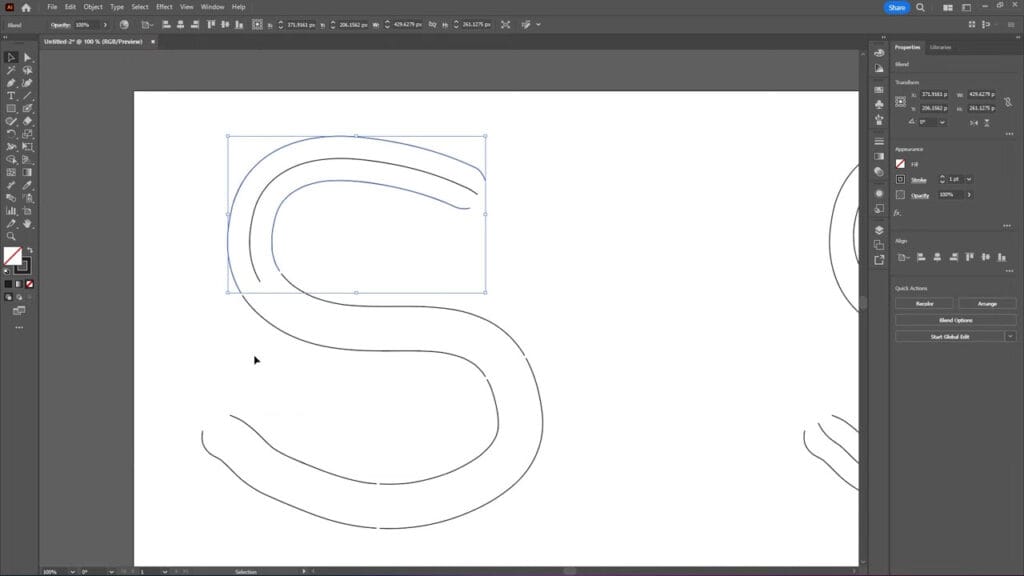
- Use the Direct Selection Tool to select the anchor points at both ends of your shape, then delete the end segments.
- With your paths highlighted, go to Object > Blend > Blend Options.
- Set Spacing to Specified Steps with a value of 1, then click OK.
- Go back to Object > Blend > Make.
Using the blend tool creates a center path, but it may not be aligned perfectly through the shape.
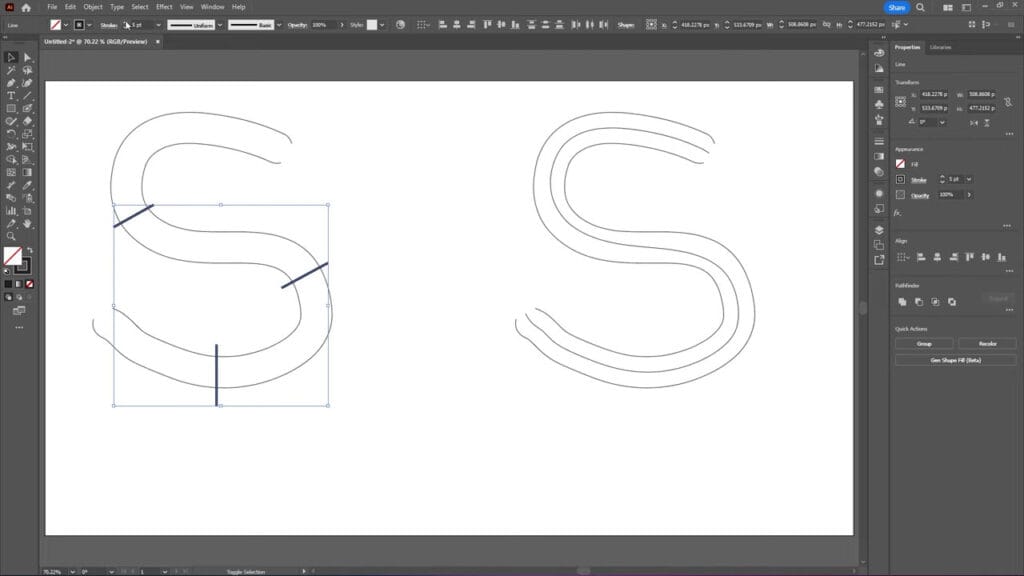
Step 3: Improve the Center Path by Cutting the Shape
If your path isn’t centred, cutting the shape into sections can help you achieve better results with the Blend Tool.
- Use the Line Tool to add diagonal lines where the center path deviates from the center.
- Increase the stroke size of these lines to make them thicker.
- Go to Object > Expand to turn the strokes into shapes.
- Select everything and choose the Shape Builder Tool.
- While holding the Alt/Option key, remove the center path lines on both sides of the shape, leaving small gaps where necessary.
Step 4: Blend Each Section Individually
Blending smaller sections creates a more accurate center path.
- Select the first section and go to Object > Blend > Make.
- Repeat for all other sections.
- Comparing the result with the original, this should now look more centred and even.
Step 5: Clean Up the Center Path
Sometimes blending creates messy sections that need smoothing.
- Go to Object > Blend > Expand to make the blend editable.
- Ungroup everything with Command/Control + Shift + G.
- Select the center paths and go to Object > Path > Join (or press Command/Control + J).
- Use the Pen Tool to delete unnecessary anchor points.
- Use the Smooth Tool to refine curves until the path looks clean.
Step 6: Finalize the Stroke
- Select the cleaned center path and adjust the stroke size to match your original design.
- In the Stroke Panel, change the Cap setting to Round Cap for rounded ends.
You now have your original outline restored as a fully editable stroke!

Outline to Stroke in Illustrator Conclusion
By creating a blended center path and refining it, you essentially reverse the expanded outline. This method gives you a stroke that can be adjusted, recolored, and edited freely, saving you from having to redraw your design from scratch.
By creating a blended center path and refining it, you essentially reverse the expanded shape and convert an outline to a stroke in Illustrator. This method gives you a stroke that can be adjusted, recolored, and edited freely, saving you from having to redraw your design from scratch.
If you found this tutorial helpful, feel free to share it, subscribe to the YouTube channel, or read more on our blog for more Illustrator tips and tricks.