If you need shapes, lines, or form fields to move alongside your text in InDesign, you’re in the right place. In this tutorial, I’ll show you how to anchor objects such as signature lines and interactive fields so they stay aligned as you add or edit text. This is especially useful for creating fillable forms or templates where content is to be updated regularly.
Chapters:
0:00 Move Lines With Text in InDesign
0:32 Create Form Boxes in InDesign
0:50 Create Interactive Signature Fields
2:13 Create Anchored Objects
3:01 Exporting Interactive PDF
3:18 Interactive Form in Adobe Acrobat
Why Use Anchored Objects in InDesign?
When designing forms, contracts, or any layout with dynamic content, anchoring objects ensures your shapes and interactive fields move fluidly with your text. No need to manually adjust everything when your text changes, let InDesign do the work for you!
Step 1: Create Form Boxes in InDesign
Start by creating your basic form fields.
- Select the Rectangle Tool and draw your first box.
- Apply a stroke (e.g., 2.5 pt) to define the border.
- Duplicate the box as needed for fields like Client Name, Signature, and Date.
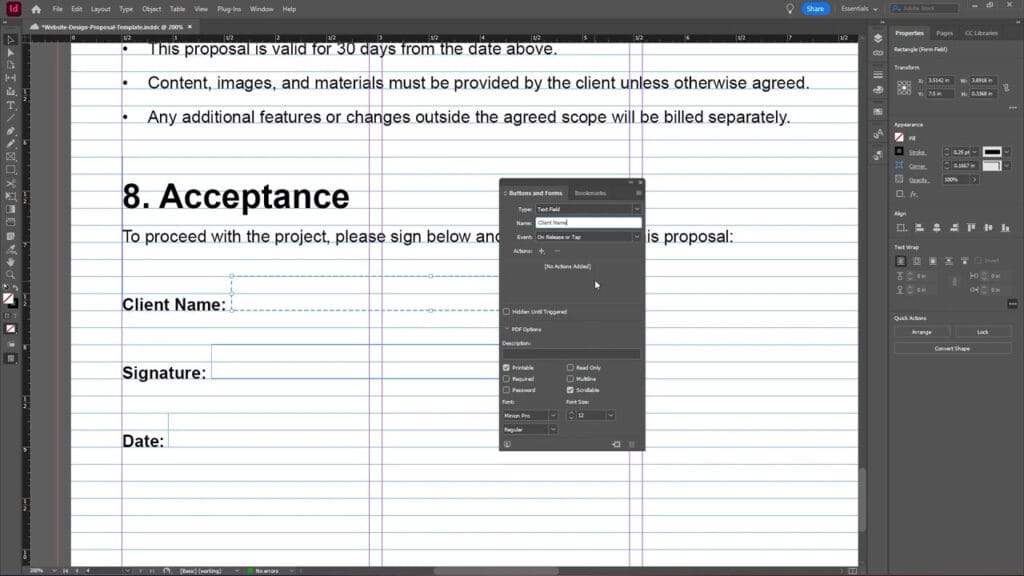
Step 2: Make the Boxes Interactive
To convert these shapes into interactive form fields:
- Select a rectangle, then go to Object > Interactive > Convert to Text Field.
- Name this field (e.g., “Client Name”).
- For the signature box, go to Object > Interactive > Convert to Signature Field.
- Do the same for the date field by converting it into another Text Field.
You can optionally adjust the font style and size for each field, but the default settings work fine for most use cases.
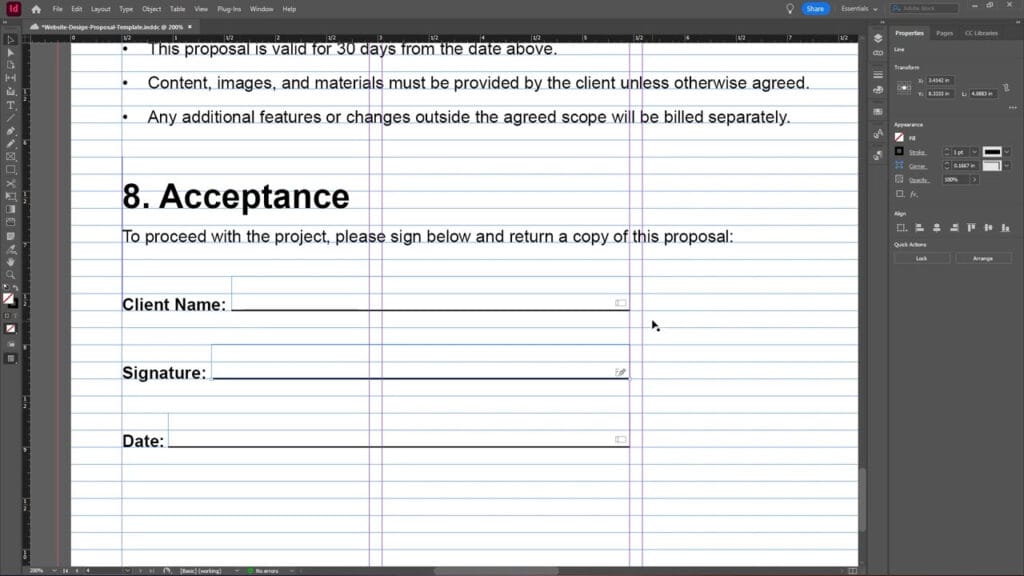
Step 3: Add Printable Signature Lines
To help users who prefer printing and signing manually:
- Select the Line Tool and draw a horizontal line at the bottom of each rectangle.
- Set the line stroke to 1 pt.
- Align each line with its corresponding form field for a clean look.
Step 4: Group Shapes for Easy Anchoring
Once you’ve added your lines:
- Select a rectangle and its line, then right-click and choose Group.
- Repeat this for all fields (Client Name, Signature, Date).
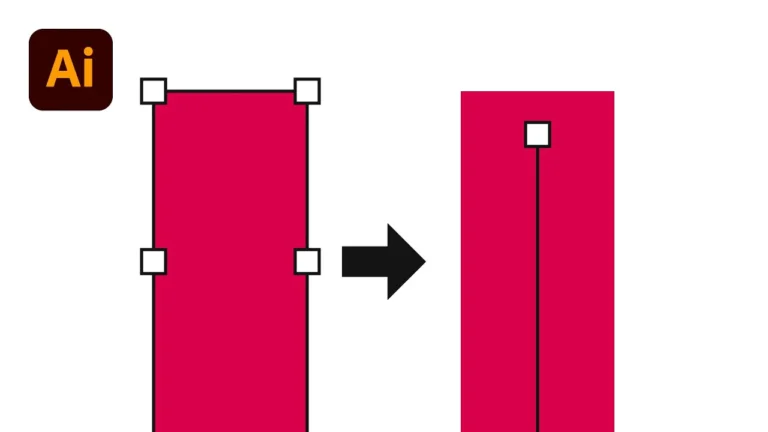
Step 5: Anchor Objects to Text
Now, it’s time to make sure your grouped elements move with the surrounding text:
- Select a grouped object.
- You’ll see a small blue square at the object’s edge-this is the anchor point.
- Click and drag this anchor into your text frame, positioning it next to the line of text you want it to follow.
- Release the mouse to lock it in place.
Repeat this for each grouped object.
Now, when you insert or delete text, these anchored objects will shift accordingly. It’s a simple but powerful feature that keeps your layout responsive.
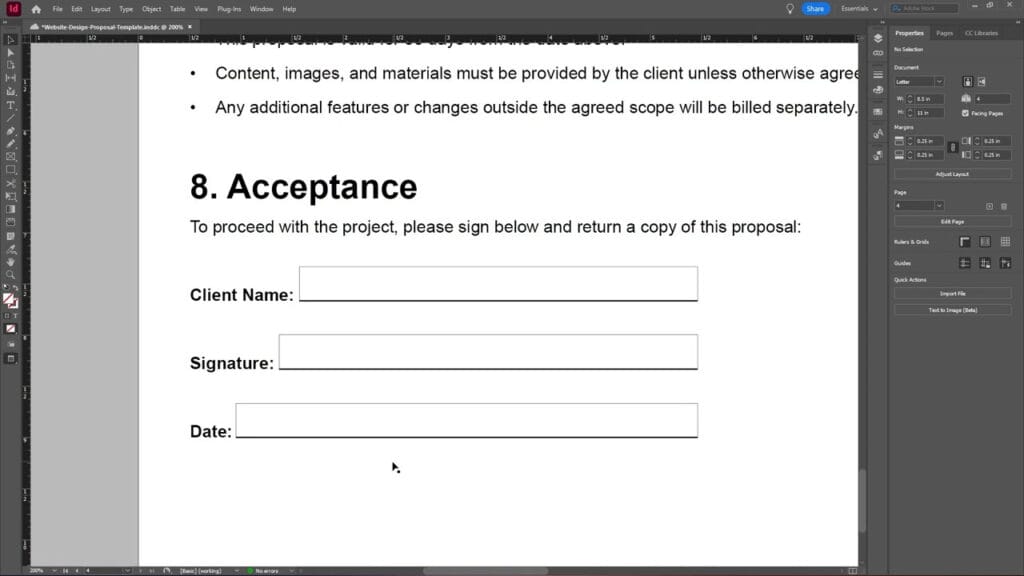
Step 6: Remove Strokes (Optional)
For a cleaner look, you can remove the border strokes:
Select each rectangle. Set the stroke weight to 0 pt. This gives the form a minimal design while keeping functionality intact.
Step 7: Export as an Interactive PDF
Once everything is in place:
- Go to File > Export.
- Choose Adobe PDF (Interactive) as the format.
- Save and click Export using the default settings.
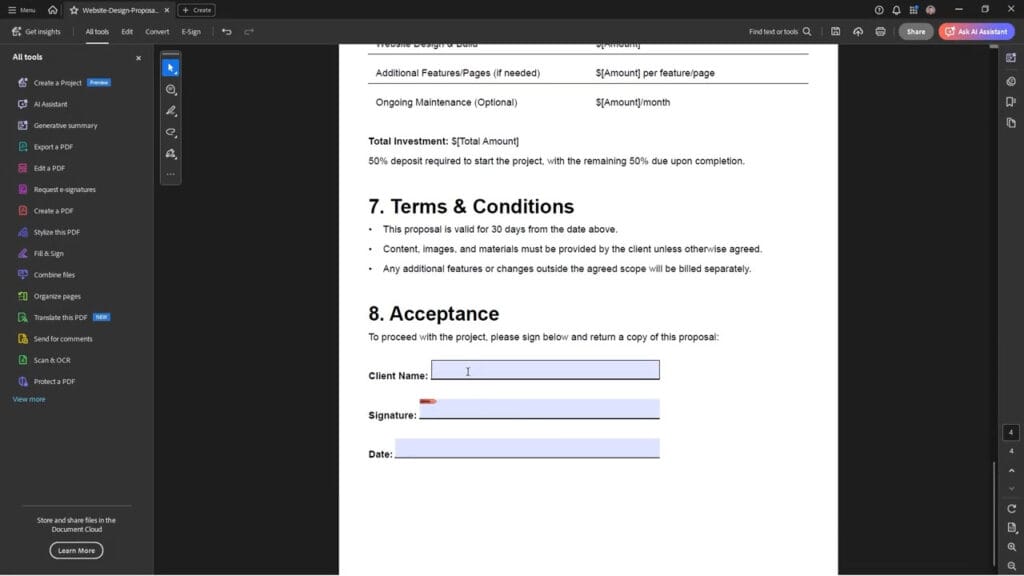
Step 8: Test in Adobe Acrobat
Open your PDF in Adobe Acrobat. You’ll now see:
- Interactive fields that are ready for input.
- A functional signature box.
- Lines users can print and sign manually if needed.
This is a great solution for client forms, contracts, and editable PDFs you can send electronically or print.
Final Thoughts
Anchoring objects to text in InDesign is an effective way to maintain dynamic and consistent layouts. If you ever need to move shapes, lines, or form fields with text in InDesign, this technique makes it easy. Whether you’re designing forms, contracts, or templates, anchoring ensures that everything stays in place, even if the text shifts.
If you found this tutorial helpful, feel free to share it, subscribe to the YouTube channel, or read more on our blog for more InDesign tips and tricks.