You will learn 3 ways to easily add a halftone effect in Illustrator to achieve your desired look. In this tutorial, you will learn how to create a halftone effect using a pattern, a custom brush, and a gradient.
Chapters:
0:00 Intro
0:09 Halftone Effect Using Pattern
1:53 Halftone Effect Using Blob Brush
2:50 Halftone Effect Using Gradient
Halftone Effect Using Pattern
- Select any shape tool and draw your shape
- Open the Swatches Library and go to Patterns > Basic Graphics > Basic Graphics_Dots and choose your halftone dot amount
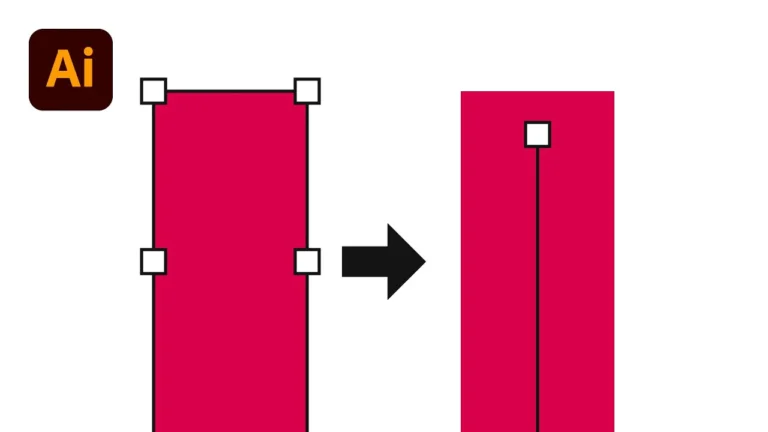
- Select your shape and go to Object > Path > Offset Path and select a negative amount that works for your shape
- Select both shapes and go to Object > Compound Path > Make
- Select your shape and go to Object > Expand Appearance, then go back to Object > Expand
- Go to window > Pathfinder > and select Crop
- Now you can change the color of your halftone effect
Halftone Effect Using Blob Brush
With your Swatches Library open and the Basic Graphics_Dots library selected, you can choose your desired halftone amount to draw with the Blob Brush tool. You can adjust the size of your brush by using the square bracket keys on your keyboard. If you want to draw your halftone effect contained within a shape, you can select the option under your fill and stroke options called “Draw Inside”.
Halftone Effect Using Gradient
You can easily convert your gradient into a halftone effect by selecting your gradient and going to Effect > Pixelate > Color Halftone and choosing the pixel size of your different channels. The bigger the pixel size, the bigger and darker your halftone effect will be. A smaller pixel size will give you smaller dots and a lighter effect.
If all of your pixel sizes are the same for each channel, the halftone dots will be a solid black. When you change the pixes sizes for different channels you will get a multi-colored halftone effect.