In this tutorial, I’ll show you a method for creating your own custom font that aligns with a lettering grid in Adobe Illustrator. If you want to create typography or learn how to use a typography grid, this guide is for you. You can use this grid on your desktop or by drawing with a smart pen in your preferred program. Let’s dive in!
1. Setting Up Your Document
In Illustrator, the first step is to enable the grid. You can do this by going to “View” and selecting “Show Grid”. Ensure that “Snap To Grid” is enabled as this feature will make your life a lot easier when trying to align your letters to the template.
2. Creating Font Grid Template
- Start by making your fill transparent and adding a stroke of any size you like.
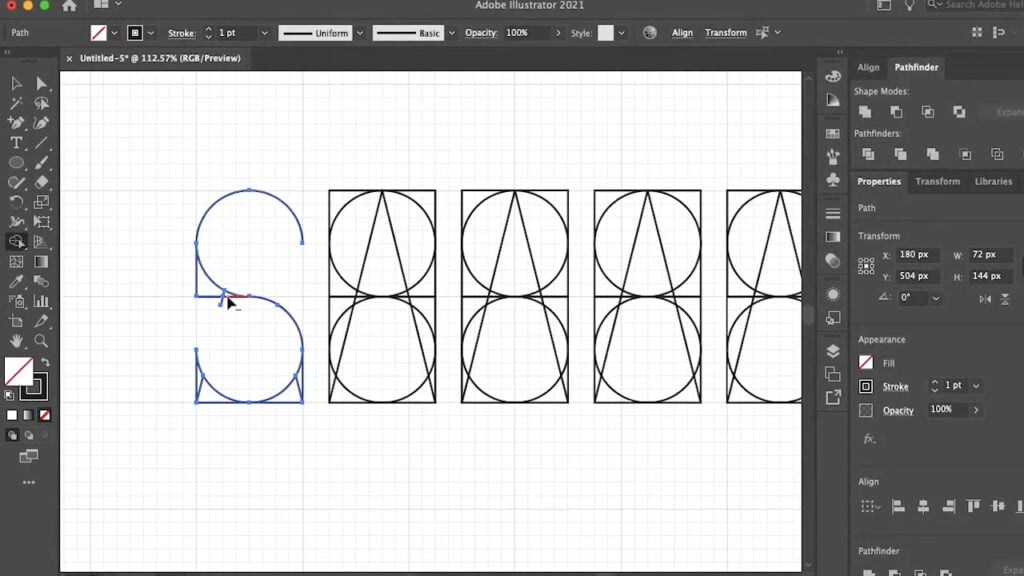
- Select the rectangle tool and create a shape that occupies the space of two squares, both vertically and horizontally on the grid. The size may vary based on your scale.
- Using the elliptical tool, create two circles of the same size and place them in the center of each square. This basic template will be the foundation for creating each letter.
- Duplicate the box template for as many letters as you would like.
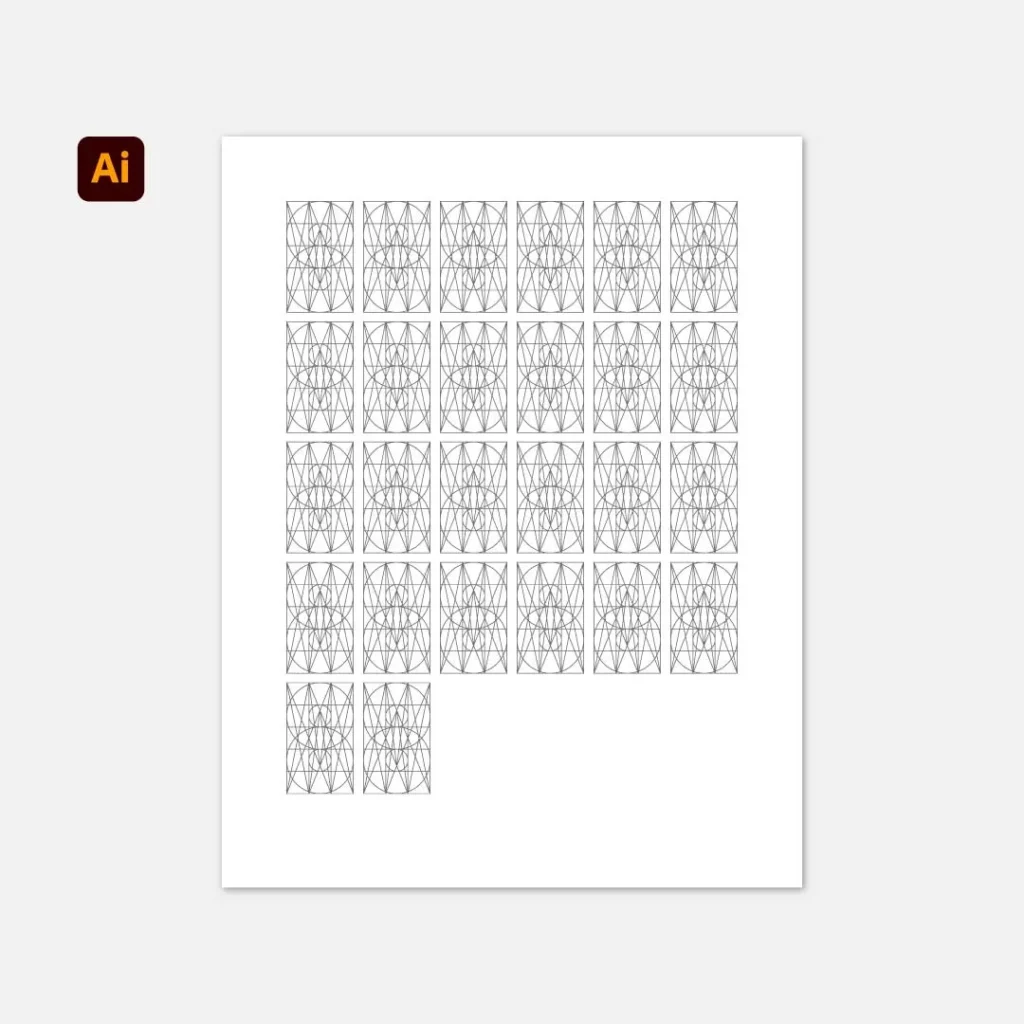
Skip the setup! Download our Font Lettering Grid Template for Illustrator.
3. Designing Custom Font
To create custom letters, you can add lines to your template by using the “Line Tool”, “Pen Tool”, or the “Elliptical Tool” if you’re creating a letter with curves such as “S”. If you want to achieve a more hand-drawn style, you can use the “Blob Brush” or simply draw your text on an iPad or drawing tablet.
You can remove any unwanted lines by first, selecting all of your lines. Then use the “Shape Builder Tool” while holding “ALT” or “Option” on your keyboard. You will see a minus icon which indicates you will be deleting any shapes or paths you select.
4. Joining Paths Together
Once all your letters are created, you can connect paths by highlighting specific anchor points, going to “Object” > “Path” > “Join.” This makes it easier to customize your letters, allowing you to choose whether the stroke should be rounded, pointy, or flat.
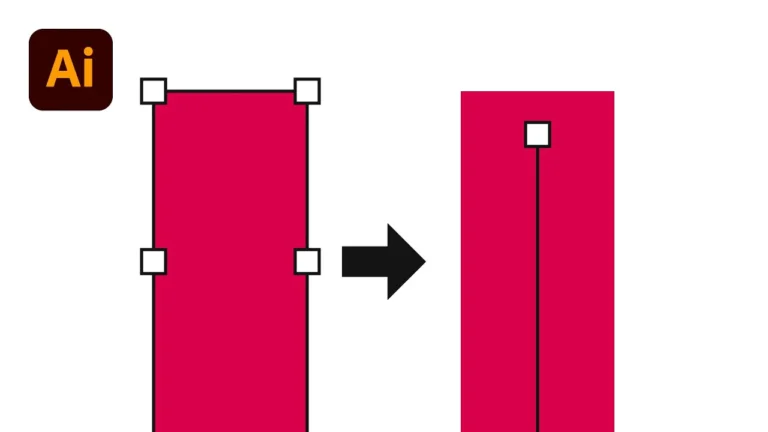
5. Expanding Text for Alignment
To fine-tune your letters and align them precisely with the grid, you can expand the text by going to “Object” and selecting “Expand”. Now you can use the “Direct Selection” tool to adjust your anchor points to the grid. Make sure to deselect “Snap To Grid” for more freedom in moving your lines.
Conclusion
In this tutorial, we discovered how you can create your own font grid in Illustrator. We also covered different techniques you can use to design your own typography using this grid.
Discover more Illustrator tips and tricks like this on our blog.