If you want to learn how to fade an image to transparent in Illustrator, this tutorial will be a helpful guide to achieve this effect. This method is similar to creating a mask in Photoshop, which may feel pretty intuitive. If not, don’t fret because we will cover everything you need to know in order to fade an image in Illustrator. Let’s get started!
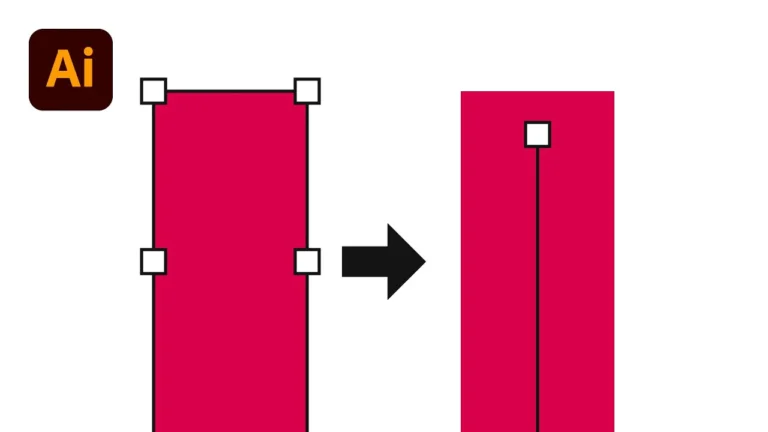
1. Create a Gradient
To begin, select the rectangle tool and create a shape over your image with the exact same dimensions. Create a black-and-white gradient by selecting the “Gradient Tool’ or by pressing “G” on the keyboard. Make any necessary changes to the angle, position, etc. of your gradient in the Gradient panel. Once you set up your fade effect, copy the gradient to your clipboard with Command/Control + C then delete your gradient.

2. Create a Layer Mask
Next, open your “Transparency Panel” which you can also find under the Window dropdown at the top. In your Transparency Panel, press the button to “Make Mask” to create a layer mask. The layer mask will show up as either a solid black or solid white color.

3. Paste Gradient into Layer Mask
Simply select the layer mask in the Transparency Panel and Press Command/Control + Shift + V to paste your gradient into place. Your black-and-white gradient is now acting as your mask where black is hidden and white is visible, hence the fade to transparent. You can easily invert your mask in the Transparency Panel to reverse your fade direction. You can also adjust the opacity slider to change your fade amount.

Conclusion
Fading out your image in Illustrator is a much easier process than you may have initially thought. By following the three steps outlined in this tutorial, you can easily fade out an image in Illustrator to transparency.
Discover more Illustrator tips and tricks like this on our blog.