In this tutorial, you will learn how to easily curve text in Illustrator. Discover two methods you can use you achieve your desired text curve effect. Learn how to arc, bend, or warp your text in any direction.
Method 1: Using the Warp Effect
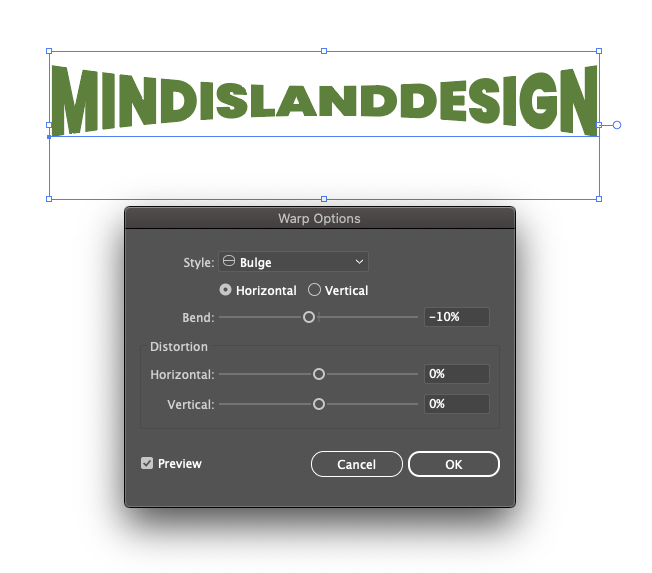
To begin, select your text and go to “Object” > “Envelope Distort” > then select “Make with Warp”. You can find the same settings by going to “Effects” > “Warp” > and selecting your warp style. These are two of the most popular text warp effects below using the “Arc Lower” and “Bulge” warp styles.

Other warp styles you can choose from:
- Arc
- Arch
- Bulge
- Flag
- Rise
- Fish
- Fisheye
- Inflate
- Squeeze
- Twist
- Wave
- Shell Lower
- Shell Upper
- Flag
- Inflate
Method 2: Using the Type on a Path Tool
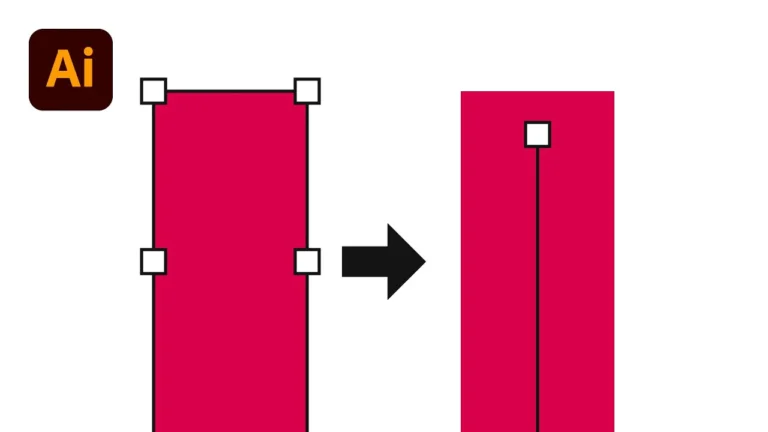
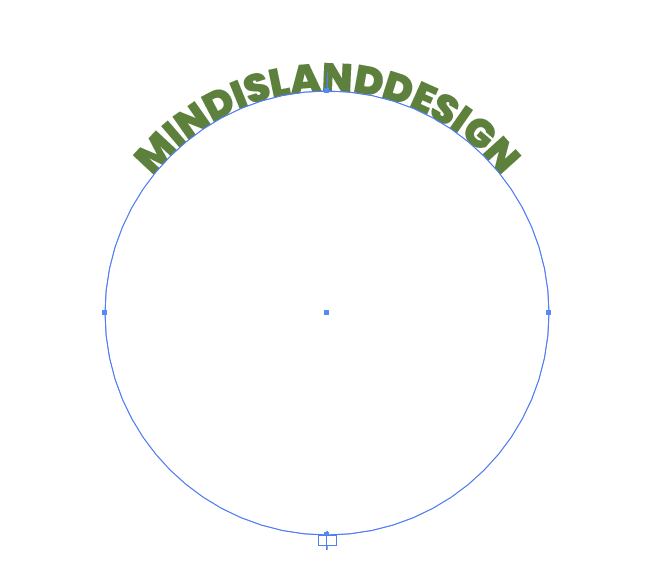
First, you’ll want to make a circle by using the “Elliptical Tool” and holding “Shift” on your keyboard to constrain proportions. Next, in your toolbox select the ![]() “Type on a Path Tool” which is nested under your default Type Tool.
“Type on a Path Tool” which is nested under your default Type Tool.
Now, when you hover over the circle with your Type on a Path Tool, you will see a squiggly line indicating your text will follow the path line. You can change the placement of your text by using the “Direct Selection Tool” and selecting the handles, or blue lines you see on the top and bottom of the circle.

Conclusion
This tutorial shows you two different methods you can use to curve text in Adobe Illustrator. You can bend your text with different warp styles to curve the top, bottom, or both simultaneously. Additionally, you can use the Type on a Path Tool to bend your text with more control and to avoid warping your text with a stretched appearance.
Customize your type on different path shapes by watching this video.
Discover more helpful tips and tricks like this on our blog.